Six Tips for Taking Great Teledermatology Photos
Set Yourself Up for Success
 If you have an upcoming telehealth appointment, follow these tips to ensure a successful visit. Whether you visit us in the office or virtually, Keystone Dermatology Partners is your home for healthy skin! By preparing in advance, you can maximize the time with your dermatology provider, making sure all your concerns are addressed. Proper preparation also helps in providing accurate information, which is essential for a reliable diagnosis and effective treatment plan.
Take Photos Ahead of Time
Consider taking photos of the areas of interest ahead of time. You can email them to us at info@keyderm.com. Try to send the photos at least one hour before your scheduled visit so we have time to add them to your medical record. Often, photos will be of higher quality than those from the video camera. Check out our tips for taking the best photos below.
Know All Medications
Before your visit, please gather any prescription or non-prescription medications you’ve used to treat your condition. This will help your provider understand what you’ve tried before.
Find the Best Location
It's important to take your virtual appointment somewhere you and your dermatologist can communicate effectively. Set up for the visit in a well-lit room with minimal noise where you can openly talk about your condition.
Practice Getting Online
Practice logging into the Doxy.me app (or whatever you’ve arranged for the visit) at least 30 minutes ahead of time. Make sure you’re able to operate the camera and microphone. If you have any problems, please call our office so we can help you through.
Consider Inviting Someone
Consider bringing someone with you to the telehealth visit. It sometimes helps to have another set of ears to hear the instructions.
The Importance of Photos for Teledermatology
If you have an upcoming telehealth appointment and need to take photos of your condition, follow these tips to ensure you take the best quality photos. It is important to have photos our providers can reference while talking to you so they can treat you to the best of their abilities.
Review our photo tips below.
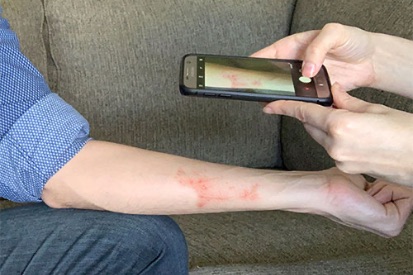
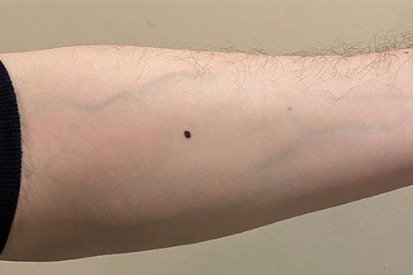
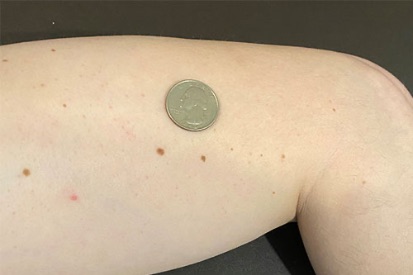
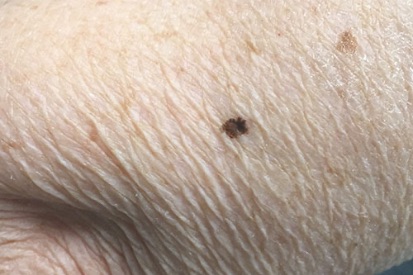
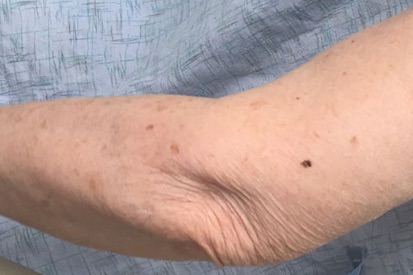
Good Teledermatology Photo Examples
#1: Send Photos Early
Take photos before your visit so you can email them to your doctor ahead of time. Our email address is info@keyderm.com. Photos from your phone will almost always be higher quality than the images during the video visit.
#2: Ask for Help
It's often hard to get a clear image by yourself depending on where your issue is located. Consider having a friend or family member assist you to get the best quality images.
#3: Good Lighting & A Clear Background
Find a well-lit area where you can take photos without a flash. Try to find a neutral background—such as a solid-colored wall or sheet.
#4: Up-Close Photos
Take close-up views of the areas of interest. These should be taken from about six inches away. Try to frame and focus the lesion in the screen.
#5: Take Overview Photos, Too
It also helps to take overview photos from a distance; these will show us where the lesions are located on your body.
#6: Include A Size Reference
Include a nickel or some other common object in some photos. This shows the sizes of the areas of interest.
Related Blogs

- General Dermatology
- Chronic Skin Conditions
Learn more about the effects Covid-19 can have on your skin. Know what kind of rashes to look out for.
Read More
- General Dermatology
Explore this blog for tips for that will keep your skin soft, comfortable, and virus-free.
Read More
- Skin Cancer
- General Dermatology
- Skin Exams
Navigating the landscape of Total Body Skin Exams: Uncover the comprehensive process, understand why it matters for skin health, and gain insights into what to expect during these essential dermatological examinations.
Read More

