Six Tips for Taking Great Teledermatology Photos
Published on April 28, 2020 by Clifford Perlis
- Take photos before your visit so you can email them to your doctor ahead of time. Our email address is info@keyderm.com. Photos from your phone will almost always be higher quality than the images during the video visit.
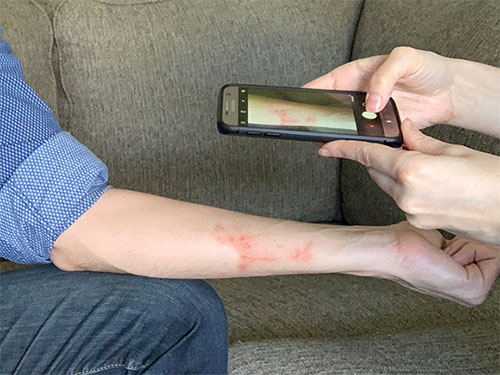
- Have a friend or family member assist you to get the best quality images.
- Find a well-lit area where you can take photos without a flash. Try to find a neutral background—such as a solid-colored wall or sheet.
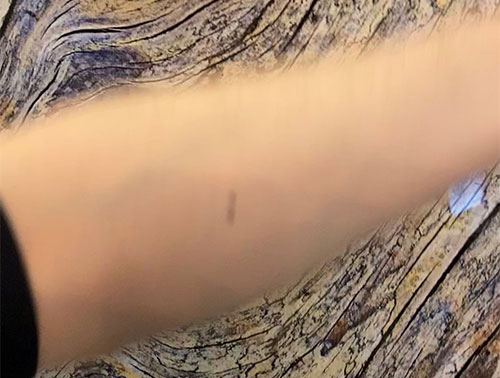
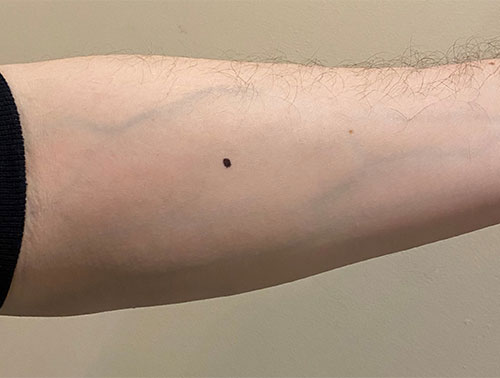
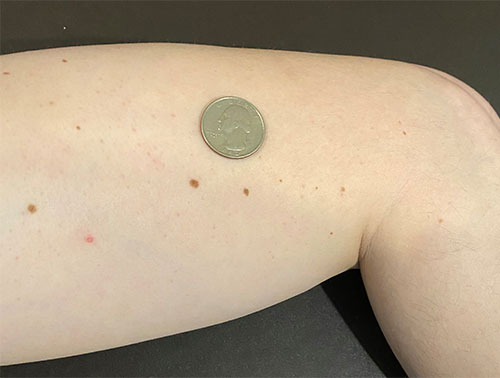
- Take close-up views of the areas of interest. These should be taken from about six inches away. Try to frame and focus the lesion in the screen.
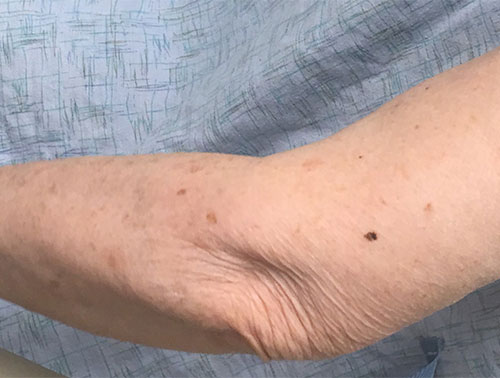
- It also helps to take overview photos from a distance; these will show us where the lesions are located on your body.
- Include a nickel or some other common object in some photos. This shows the sizes of the areas of interest.